A Fun Easy Guided Reading Activity for 1st Grade
Do you struggle to plan and differentiate your SMALL GROUP GUIDED READING? This was a huge problem for me until I found a great solution. Now it is as easy as pie and my favorite thing to prep!
Grouping my Students
Yesterday I was so excited to get something checked off of my bucket list for back to school. I actually planned out my small group guided reading units for my incoming first graders. Yes, you read that correctly. Every year the kindergarten teachers give their students the DRA or Diagnostic Reading Assessment before they leave for the summer. Using that information, I created some dynamic grouping for the Fall. One thing I have noticed after teaching first grade for 18 years is that the students stay pretty close to that level when they come back in August. Of course, I will retest them and change them, but that is exactly why my grouping is called "dynamic"…it will change.
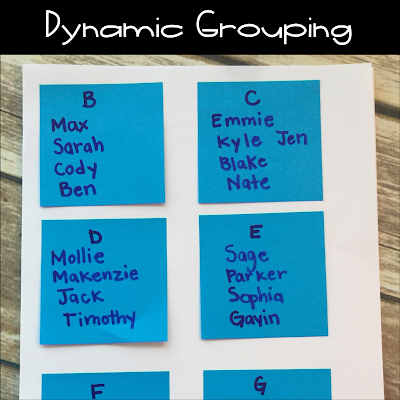
Based on the DRA, I just add the names to sticky notes. This is a made-up page because I can't reveal who my new children will be, it is always a surprise for them in August. I wanted you to see how easily I group them. I am not wasting any time next year, I want to read with them in a small group as soon as I establish good routines.
Organization of Materials
So after 18 years of teaching, I feel I have finally mastered this process. It took me longer than I wanted but I got to my final goal. As a teacher, you already have to plan lessons for all of your core subject areas. On top of that, you are then differentiating small groups of students and making more lesson plans for them. When I get to the small group planning, I'm exhausted. I usually have about 5 different groups with 3-5 lessons for each group each week. That is a lot of extra planning. So I got smart this year and did a lot of reading and researching on each reading level. I wanted to see what was expected in the reading process. Then, I created 30 lessons for each level with little to no prep at all. Just copying a few pages and I was ready to go. Today I will show you what it looks like for the Level D Binder.
Let's Peek Inside my Small Group Guided Reading Binder
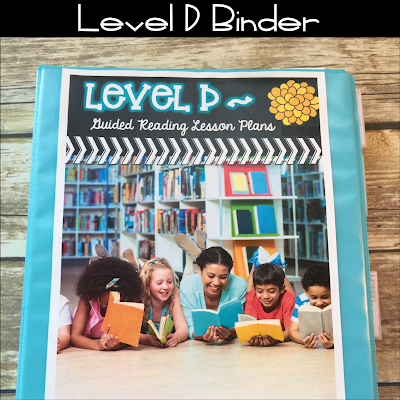
Here is a picture of the binder. Inside it is split into 4 sections.
- Teacher Tools: Pre-Assessment, Post-Assessment, Teacher Data Tracking
- 30 Typed Lesson Plans that are ready to go.
- Student Activity Pages- black and white ready to be copied
- Comprehension Activities that you can add to each lesson when needed.
The ONLY thing not included are the books!
Lesson Plans
So here is where I begin. I like to prep only 5 lessons at a time because children grow and change quickly. Also, I'm kind of taking a guess in the beginning. If I'm off, 5 lessons won't be too long.
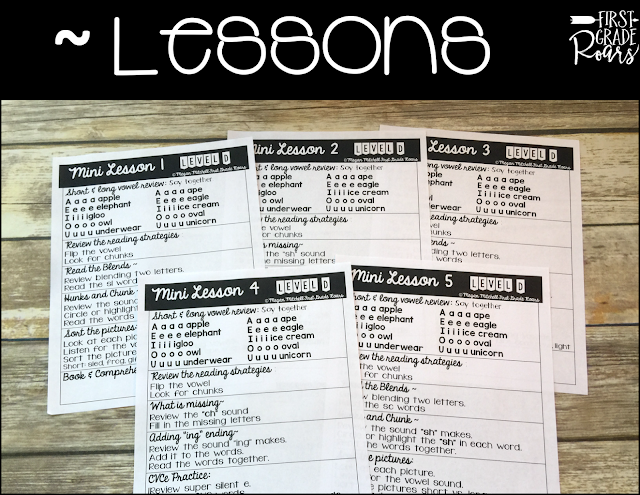
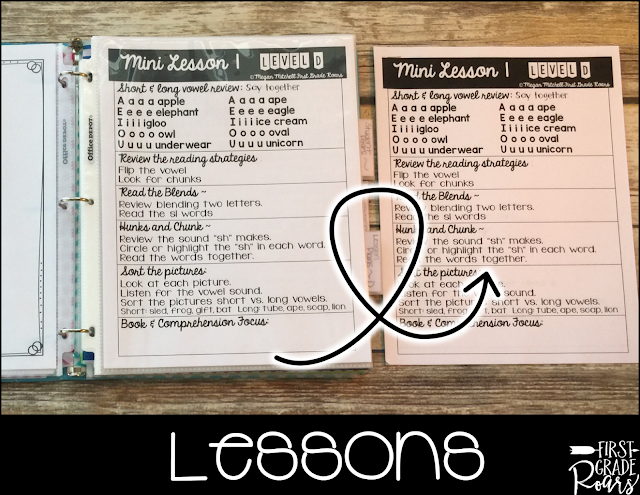
Here is a picture of 5 Level D lessons. There is some repetition however, the main activities change amongst the days. You can copy them and staple them for each group but I don't.
You can see the binder on the left and the stapled packet on the right. I put all of my lesson plans in clear sleeves and keep them right in the binder. Now they are no prep. At the bottom, I place a sticky note in the "book & comprehension focus section" where I add what will be done if I choose to do so. Simple and effective.
Student Work
For the students, I prep a packet for them. On the left, you can see a set of packets with ____'s Guided Reading Journal. I copy five lessons and staple them. So you could see what is inside, I laid out one packet. The first 3 pages are vowels, strategies, chunks, digraphs, etc. Whatever is discussed at this level. During our lessons, we refer to these pages for singing and saying the sounds that they make. At the bottom are the 5 activity pages. In addition, there are three cut and glue activities. I pre-cut them and put the lesson that they go with. You can see my sticky note #5.

Yesterday, after I knew my levels, I went to school and copied my packets for 5 different groups. It literally took my 10-15 minutes.
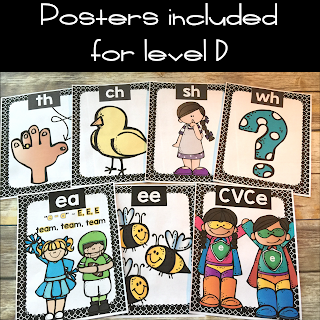
In addition to the black and white posters, I also made colorful teaching posters for each level. I laminated these and keep them in the binder to use when I meet with the children.
Choosing Books
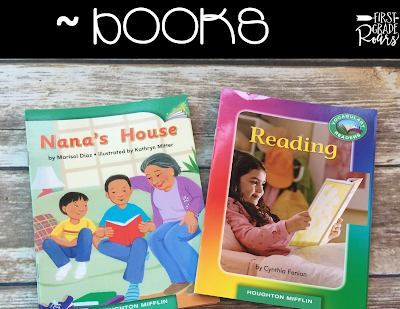
After I copied my packets, I went to my leveled reading bin and pulled the books I wanted to use. For each level, I choose two books to work with, one fiction and one non-fiction. We have a leveled book collection but we also have a membership to Reading A-Z. Sometimes, as I get to know my students, I print paper books so we can highlight, chunk and write in them. This is especially important for my lower levels.
Comprehension
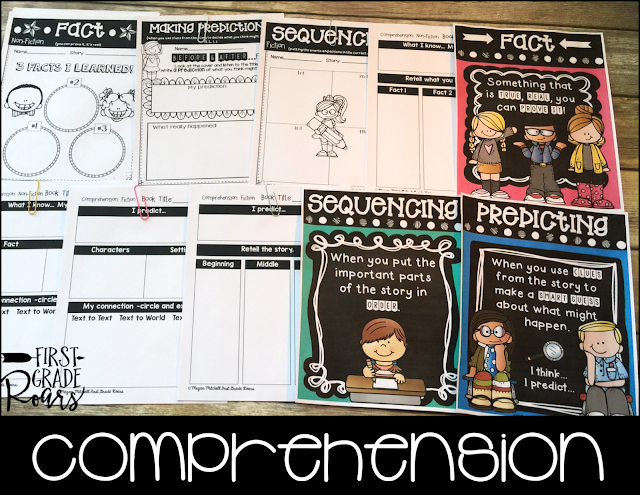
Next, I printed the comprehension pages. Here is a peek at all the strategies that are included for Level D. I also include colorful posters to go with the strategies for teaching purposes.
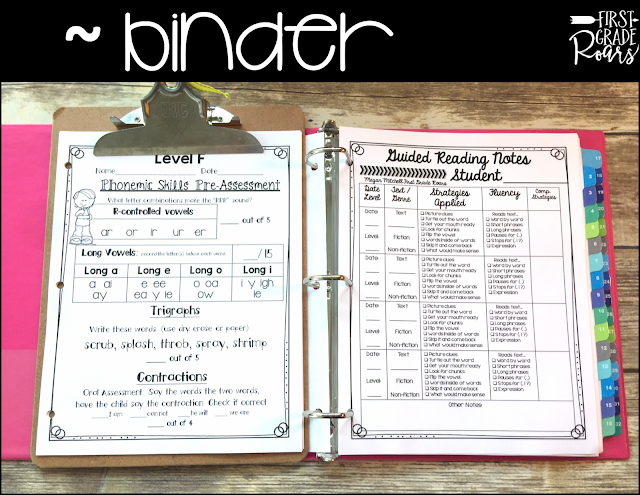
Finally, I copy the pre and post-assessment as well as the data tracking sheets. I three-hole punch them and keep them in my box on a clipboard. While I am working with the students or after working, I fill out the data form. So here is a peek at what my bin looks like when I'm finished.
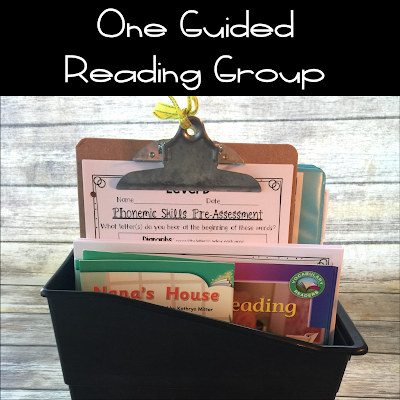
Once I have filled out the entire tracking sheet, I add it to my Data Binder. I made this fun cover which you can grab for free today and use in your own classroom!
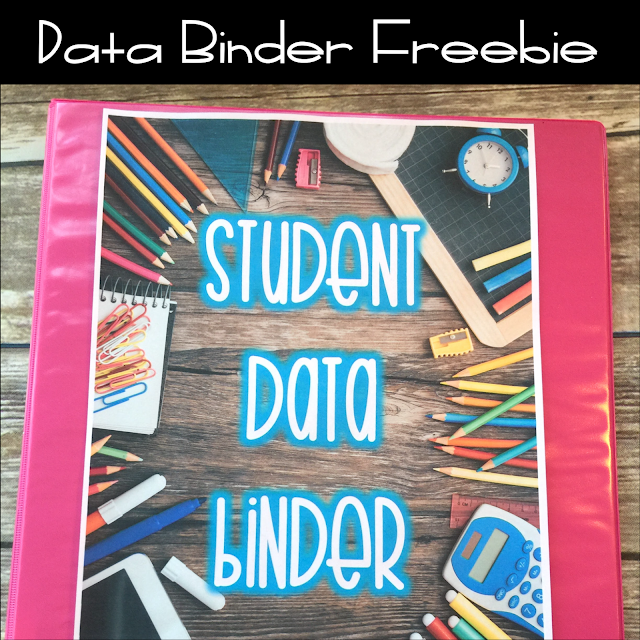
I found these amazing number tabs at Office Max. I use them to separate my students. I give each first grade a number. Once the Guided Reading Notes are complete, I put them behind their number. I also add the pre & post assessment too. When it comes time for progress reports or conferences, I have everything on each child separated out.
Here is a picture of it altogether. My container, binder, posters, books, and student activity packets.
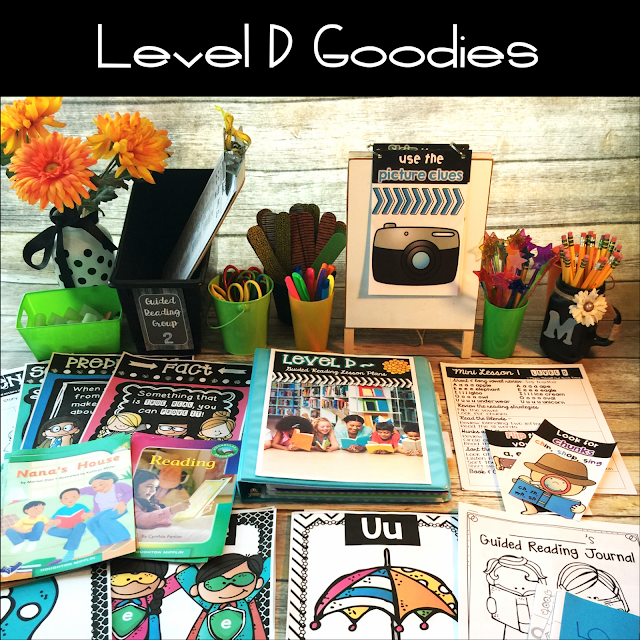
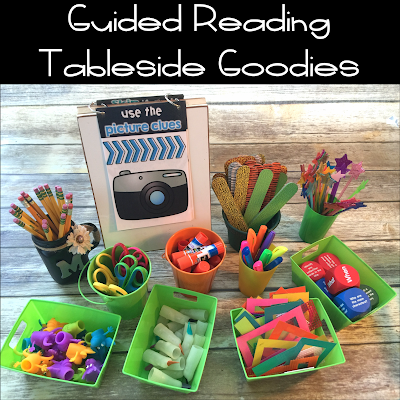
At the table, I like to keep these things handy. I have a mini easel I bought at Meijers for my reading strategy cards, pencils, pointers, glue sticks, scissors, and some fun comprehension dice.
So that's it. I never have to write a full lesson plan for small group guided reading again! I already did it for you. I was able to prep all 5 boxes last night in a half hour.
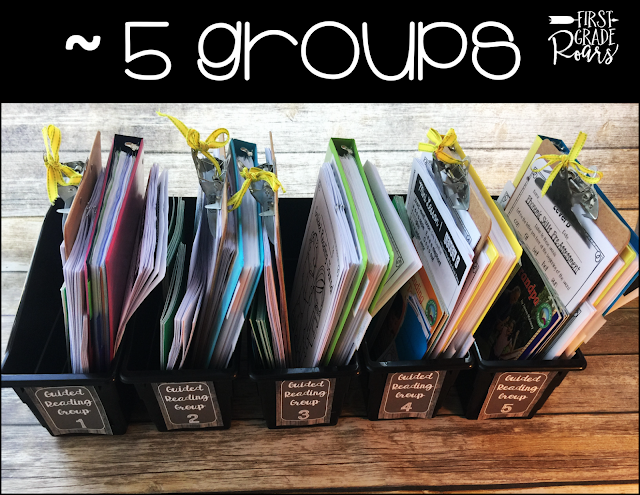
Remember that freebie I promised, well here it is! I also included these fun little Guided Reading Group Labels 1-8. DATA BINDER COVER & LABELS.
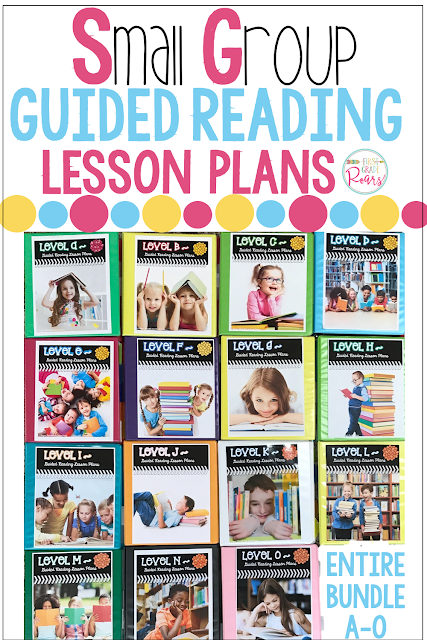
I have levels A-O done. CLICK HERE to check them out!
Thanks for reading, I hope you were able to grab a few housekeeping ideas for your guided reading!
As always, love what you do and do what you love!

Source: https://firstgraderoars.com/small-group-guided-reading-prepped/
0 Response to "A Fun Easy Guided Reading Activity for 1st Grade"
Post a Comment